Room by Room Safety: Post Construction Cleaning Checklist for Managers
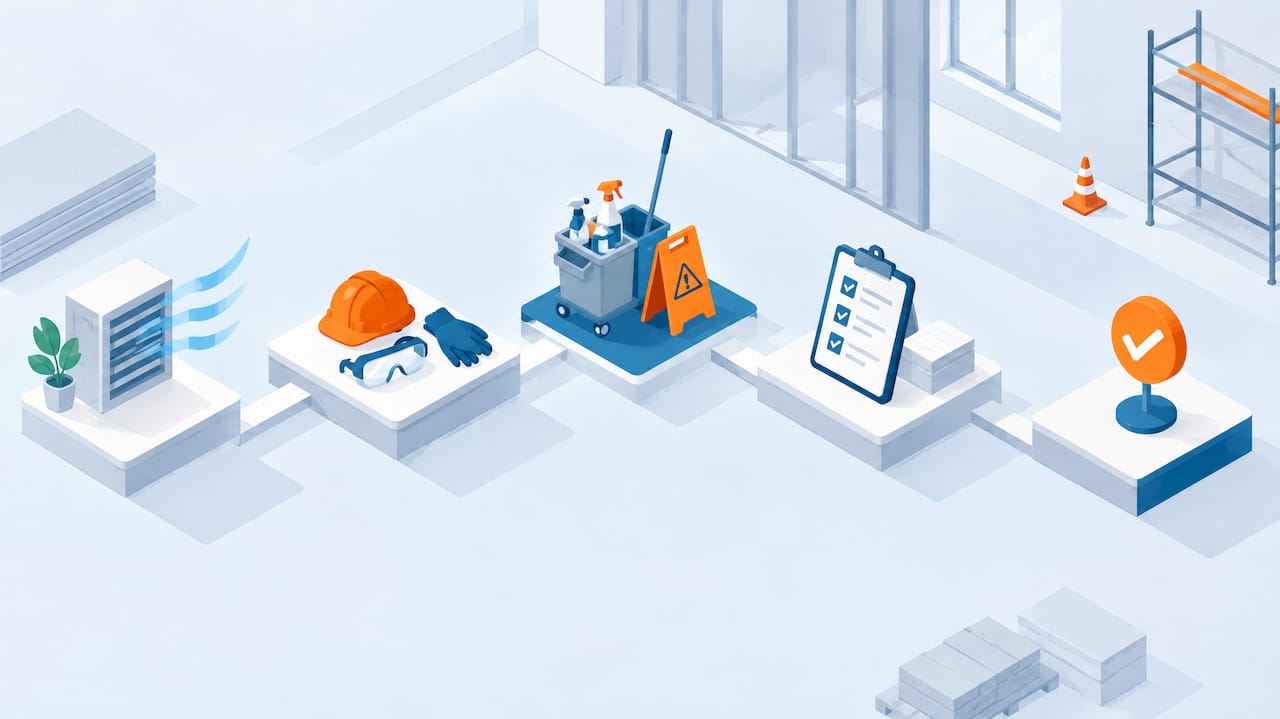
A thorough post-construction cleaning checklist removes large debris, controls fine dust with HEPA filtration and wet methods, and works room by room until the space is safe and ready for occupants. Most jobs follow a rough clean, a detailed clean, then a final polish before handoff. Commercial projects with heavy dust, hard floors or suspected hazardous materials often call for a professional cleaning crew rather than an in-house team.
TL;DR:
- Extensive dust and debris removal requires staged cleaning, with a rough clean first, followed by detailed finishing after surfaces have stabilized.
- Special hazards such as asbestos, lead, or silica exposure demand immediate professional abatement and clearance testing before routine cleaning continues.
- Precautionary equipment like HEPA vacuums, microfibre cloths, and respirators is essential to protect workers and prevent surface recontamination.
- Scheduling cleaning phases to align with construction milestones avoids recontamination and delays in building occupancy.
- Documentation through detailed checklists is critical for warranty claims and verifying completion before building handoff.
Table of Contents
- Quick printable checklist for busy teams
- Room-by-room checklist from entrance to floor finish
- Tools, supplies and PPE for the job
- When routine cleaning hits its limit
- Timing your clean around construction milestones
- Documenting the final sign-off
- Clearing debris before the deep clean begins
- Why a safety-first checklist matters more than a tidy look
- How Eshine Cleaning Services can help
- Sources
- FAQ
Quick printable checklist for busy teams
Before the detailed room-by-room work, run through this condensed sequence. Items marked with an asterisk may require a specialist rather than a general cleaning crew.
- Walk the site and remove large debris, packaging and loose materials.
- Confirm no suspected asbestos, lead or silica hazards remain exposed.*
- Vacuum with HEPA-filtered equipment before any wet cleaning begins.
- Damp-wipe horizontal surfaces from high points down to the floor.
- Clean windows, tracks and glass once dust settles.
- Detail kitchens, washrooms and storage areas last, since they collect the most residue.
- Inspect HVAC grilles, light fixtures and vents for drywall dust.*
- Complete a final walkthrough against a written checklist before sign-off.
A small office suite typically requires about a day for rough and light cleaning combined. A full commercial build-out often needs two to three separate visits spaced across the final construction weeks.
Room-by-room checklist from entrance to floor finish
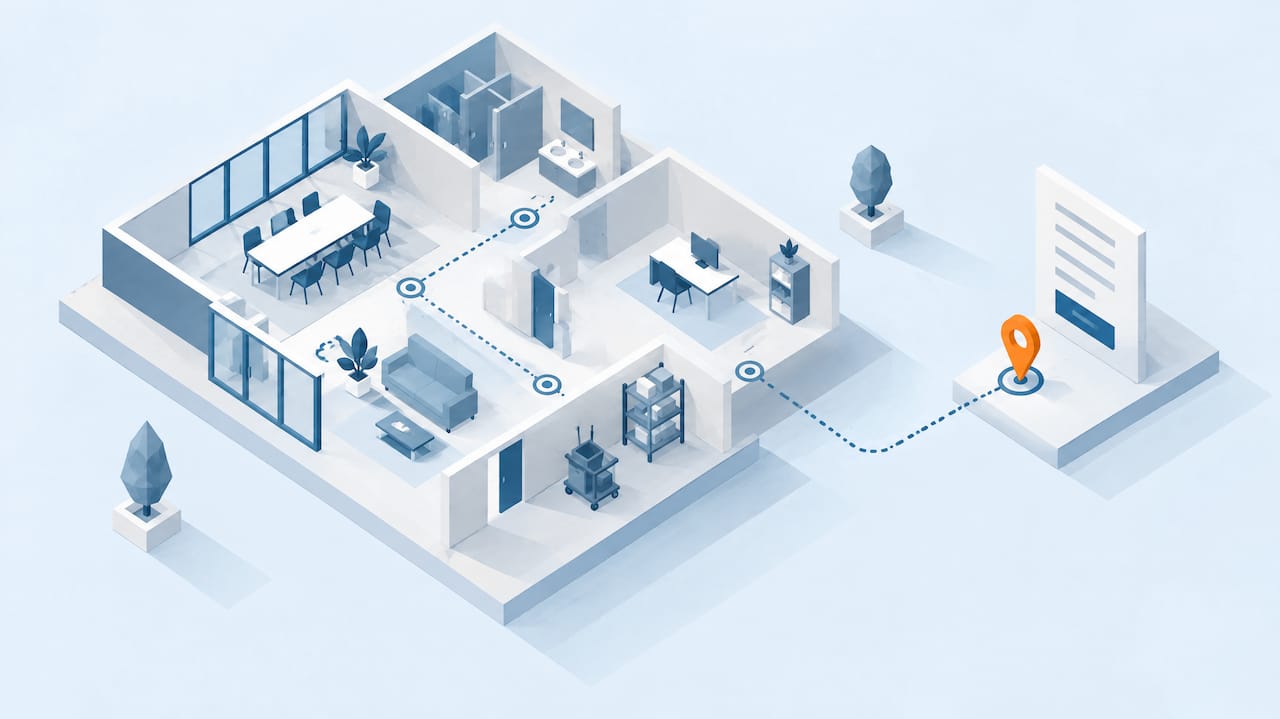
Work from the entrance inward, and within each room, clean from high surfaces to low ones, then from dry debris removal to wet detailing. This order keeps dust from resettling on surfaces you have already finished.
- Entrances and lobbies: clear door tracks, sweep grit from thresholds, and wipe down glass doors and frames where caulk or sealant residue often lingers.
- Offices and common areas: dust light fixtures and ceiling fans first, then wipe desks, sills and baseboards; check behind doors and inside closets, which crews frequently skip.
- Kitchens and break rooms: degrease countertops, scrub sinks, and wipe the interior and exterior of cabinets, since drywall dust settles inside even closed boxes.
- Washrooms: disinfect fixtures, polish mirrors and chrome, and check grout lines and caulk joints where construction adhesive residue tends to collect.
- Storage rooms and cabinets: empty and vacuum shelving before wiping, since packaging dust and screws often settle in corners.
- Windows and glass: remove labels and adhesive residue with a plastic scraper, then clean glass once surrounding surfaces are dust-free to avoid recontamination.
- Fixtures and trim: detail light switches, outlet covers, vents and door hardware, areas the general housekeeping guidance from CCOHS specifically flags as commonly missed.
- Floor types: sweep and vacuum before any wet mopping; hardwood and resinous or epoxy floors need pH-neutral products and a cure-time check, since cleaning too early can dull a finish that has not fully set.
Residues vary by room, but the common offenders are drywall dust, paint overspray, caulk smears, adhesive film and grout haze. Inspect HVAC registers, the tops of doors and cabinets, light fixtures and window tracks last, since dust from earlier high-to-low work tends to settle there. A rough clean removes bulk debris and heavy dust; a light or final clean follows once trades have finished and surfaces are stable enough for detailed polishing. Granite and stainless steel benefit from a final pass with a non-abrasive cleaner only after dust-generating work in that room has stopped completely.
Tools, supplies and PPE for the job
Routine janitorial tools are not enough for construction dust. The right equipment protects both finishes and lungs.
- HEPA-filtered vacuums, since standard vacuums can recirculate fine particles instead of capturing them.
- Microfibre cloths and mop heads, which trap dust rather than pushing it around.
- Damp-wiping solutions and pH-neutral floor cleaners for specialty surfaces.
- N95 or higher-rated respirators when dust levels are visibly heavy or ventilation is poor.
- Heavy-duty bags, bins and labelled containers for waste segregation.
Pro Tip: Fit-test respirators before the job starts; a poorly sealed mask offers little real protection even when the rating is correct.
When routine cleaning hits its limit
Routine cleaning covers visible dust and debris, but some hazards need a different response entirely. CCOHS housekeeping guidance advises against dry sweeping or using compressed air where hazardous dust may be present, favouring containment, HEPA vacuums and wet methods instead.
Watch for these red flags:
- Damaged insulation, textured ceiling material or old flooring in buildings constructed before the 1990s.
- Visible dust clouds when materials are disturbed, rather than settling quickly.
- Peeling paint in older buildings that may contain lead.
Suspected asbestos or lead contamination halts routine cleaning immediately. Clearance air sampling must meet specified fibre-count limits before a space is reoccupied, according to Canada’s technical guideline on asbestos exposure management. When in doubt, isolate the area and bring in a qualified abatement contractor, such as the process outlined in this guide to safe asbestos renovation, before any further cleaning resumes.
Timing your clean around construction milestones
Cleaning too early wastes effort, since trades will simply recontaminate the space. Cleaning too late delays handoff.
- Rough clean: once major demolition and installation finish, removing bulk debris and heavy dust.
- Light or detail clean: after paint, flooring and fixtures are installed but before furniture arrives.
- Final clean: immediately before occupancy, polishing glass, fixtures and floors.
Before locking in a schedule, confirm site access, security arrangements and which party is responsible for remaining punch-list defects, since federal closeout specifications stress keeping doors and windows closed to prevent dust transfer between zones. A small retail unit might need only a day between phases, while a multi-floor office build can require a week or more of staggered access.
Documenting the final sign-off
A checklist only protects you if it becomes a record, not just a to-do list. Inspect high-touch surfaces, vents, window tracks and storage interiors first, since these are where defects and residue hide longest.
- Walk every room against the written scope before anyone signs off.
- Note any item that fails inspection with enough detail for a second visit.
- Assign a responsible person and a reinspection date for every open item.
- Keep the completed log on file for warranty claims or future disputes.
Retain this documentation for the length of any workmanship or cleaning warranty, since it is often the only record that shows what was completed and when.
Clearing debris before the deep clean begins
No detailed cleaning can start until bulk waste is gone. Large offcuts, packaging, scrap drywall and leftover fixtures need to be hauled out and sorted before a single surface gets wiped.

Start by walking the space and flagging anything too large or sharp to handle casually: protruding nails, loose cords, stacked materials near exits. CCOHS construction housekeeping guidance advises against reaching bare-handed into waste containers, since sharp fragments and hidden debris are common. Keep evacuation routes and exits clear throughout this stage, not just at the end.
Sort waste as it comes out rather than bagging everything together. Wood, metal, drywall and packaging often have different disposal streams, and separating them on-site saves time at the landfill or recycling depot. Use labelled bins for anything that might contain hazardous residue, such as old insulation or painted material from an older building, and set that material aside rather than mixing it with general construction waste.

Once large debris is cleared, sweep loose grit and fine particulate with a dustpan or shop vacuum before switching to a HEPA-filtered unit for the finer dust that remains. This two-stage approach, coarse removal first, then fine filtration, prevents clogging equipment meant for lighter particulate and keeps the detailed cleaning phase moving without interruption.

Why a safety-first checklist matters more than a tidy look
A space can look finished and still hide dust in vents, residue on floors, or a missed hazard behind a cabinet. Some cleaning services build customized plans around that gap, using quality checks that catch what a quick walkthrough misses and cut down on callbacks. A checklist that treats safety as the baseline, not an afterthought, protects tenants and the budget alike.
— Jack
How Eshine Cleaning Services can help
Running a full post-construction clean alongside everything else on a commercial project is a lot to manage alone. Eshine Cleaning Services offers tailored post-construction cleaning plans built around your building’s layout, finishes and timeline, backed by certified, insured staff and equipment suited to construction-grade dust.
- Customized scope for offices, retail spaces and industrial sites.
- Equipment matched to the surfaces and dust levels on your site.
- Coordination with your construction schedule to avoid wasted visits.
Request a quote through Eshine Cleaning Services and get a scope built around your actual site conditions, not a generic checklist.
Sources
- Workplace housekeeping – General checklist (CCOHS)
- Canada
- Federal contract specifications — closeout and cleaning (CanadaBuys)
FAQ
What is the 6/10 rule for cleaning houses?
Definitions of this rule vary across cleaning guides, and no CCOHS or government source defines it specifically for post-construction work. Rather than rely on it, follow a documented room-by-room scope with clear sign-off criteria for each area.
What is the 20 minute rule in cleaning?
This is a general household productivity tip, not a post-construction standard, and it is not addressed in occupational housekeeping guidance. For construction cleanup, timing should be set by project size and dust levels rather than a fixed interval.
What is the 20/10 rule for cleaning?
This is a general time-management technique used in household cleaning routines, not a construction or workplace safety standard. Post-construction jobs are better scheduled around rough, light and final clean phases tied to construction milestones.
How do I know if post-construction dust is hazardous?
Visible dust that lingers in the air rather than settling quickly, damaged insulation, or old flooring and paint in older buildings are red flags worth stopping for. When any of these appear, isolate the area and consult a qualified hazardous-materials professional before cleaning resumes.
How long does a typical post-construction clean take?
A single office suite usually requires about a day for rough and light cleaning combined, while larger commercial build-outs often require multiple visits spaced across the final weeks of construction. Timing depends on square footage, dust levels and how many trades are still finishing work on-site.
Recommended
- Post-Construction Cleaning Checklist
- What Does Post-Construction Cleaning Include?
- Post-Construction Cleaning Tips for Winnipeg Properties
- Professional Cleaning for Building Handover Inspections
Learn more about Eshine’s post construction cleaning in Winnipeg.